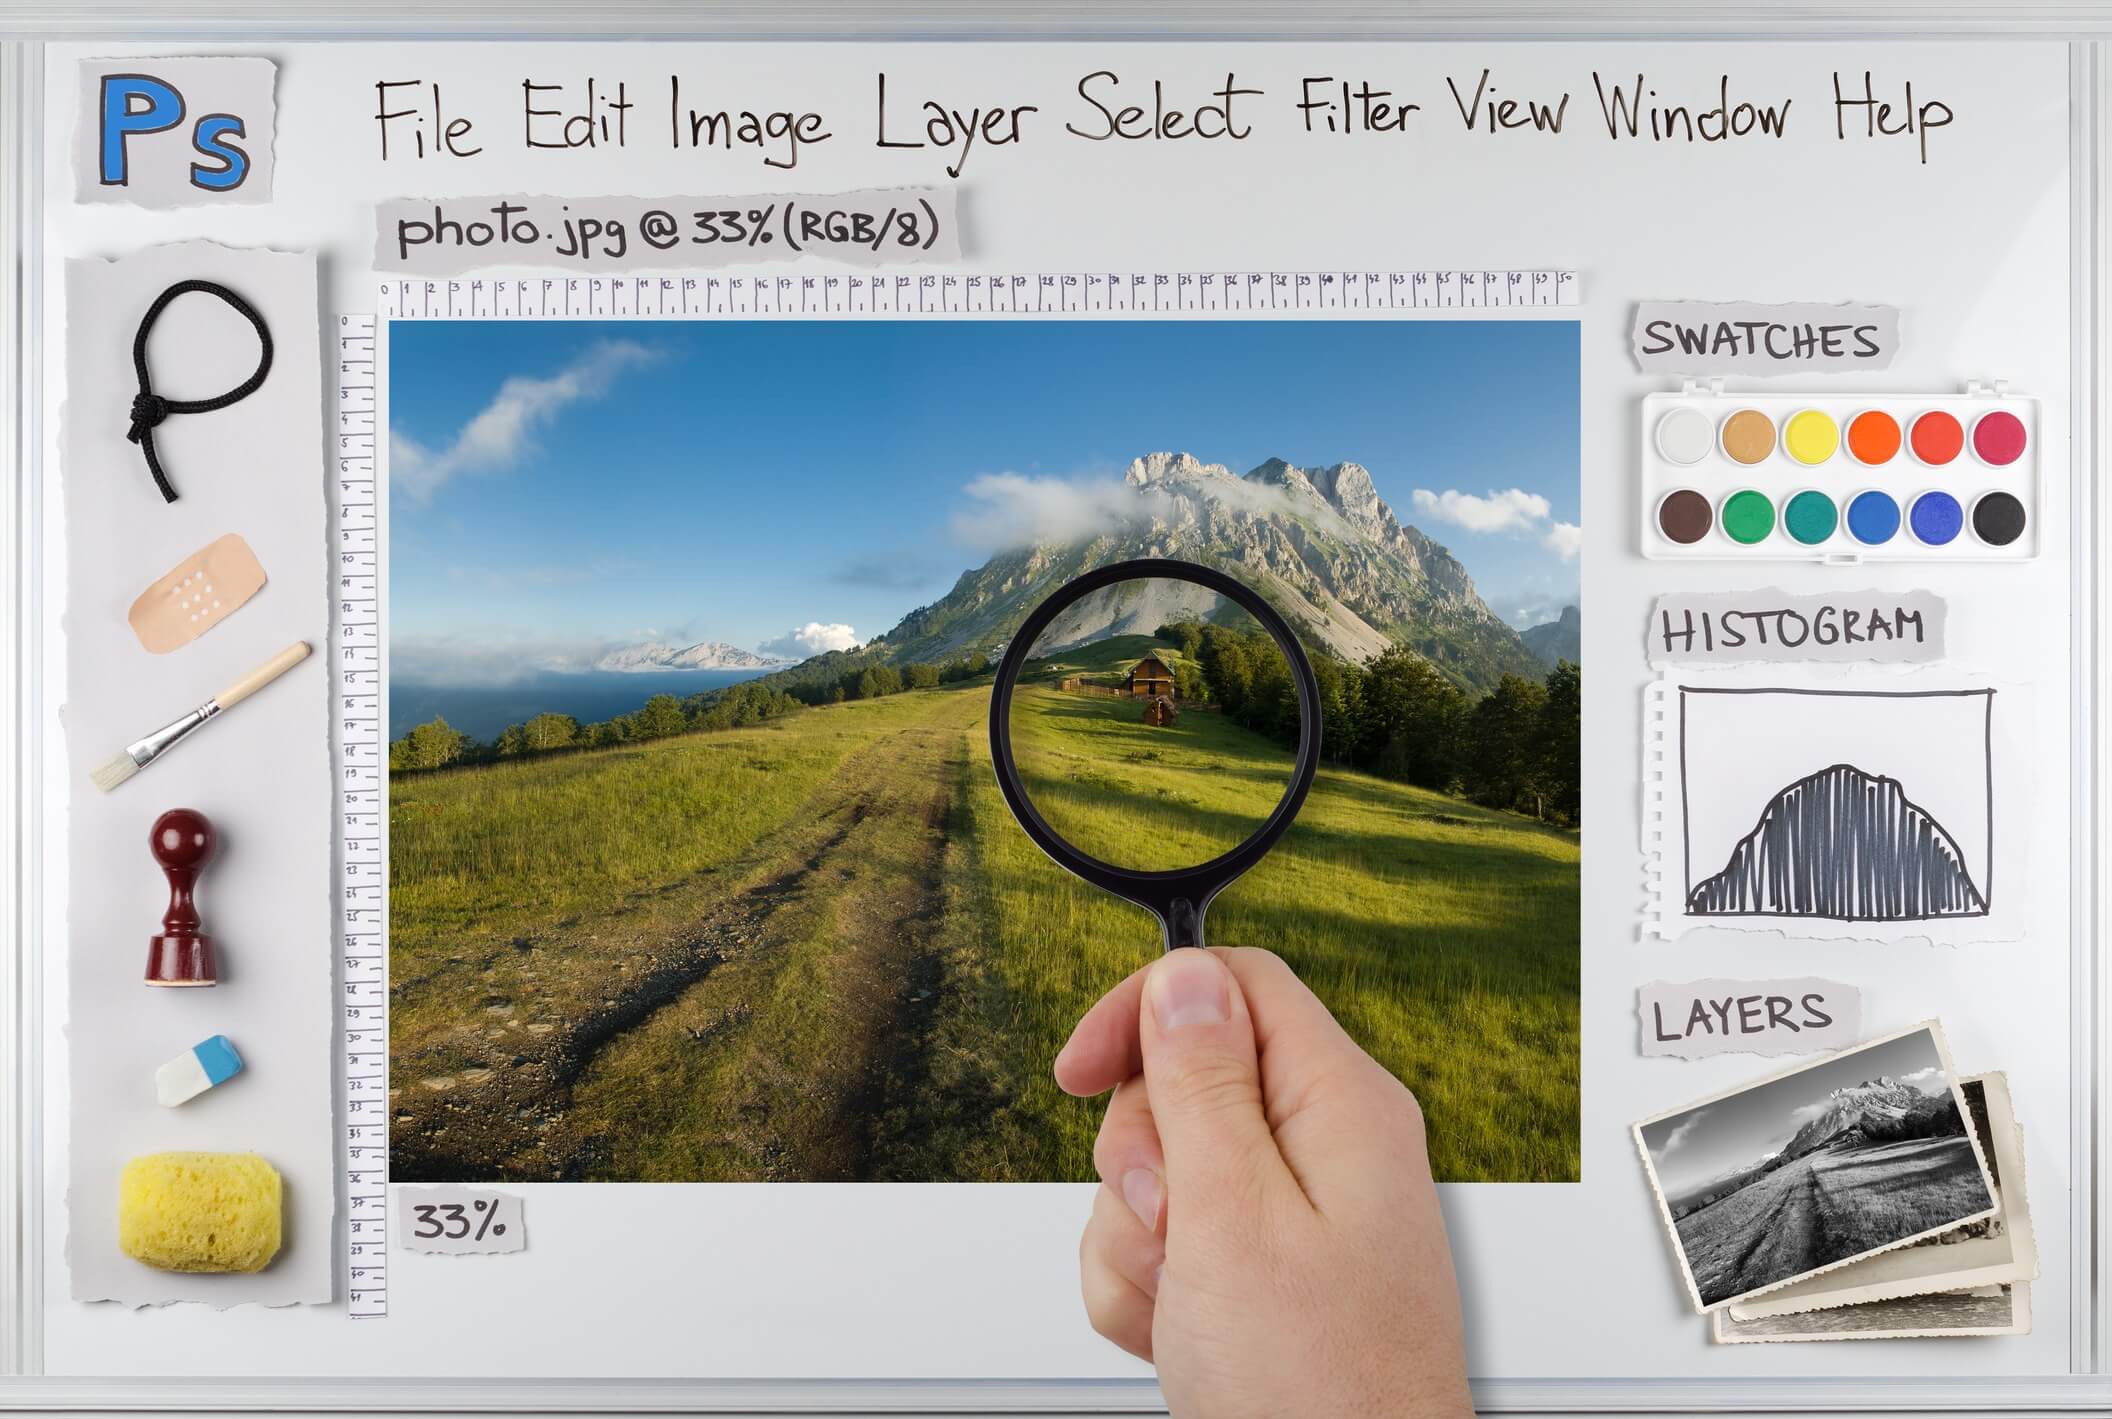
Cutout Pro is a powerful tool for photo editing that many users want to integrate into their existing workflows. You can indeed open Cutout Pro with Photoshop, allowing for a seamless transition between both applications. This compatibility opens up new possibilities for enhancing your images and applying advanced techniques that can elevate your projects.
Using Cutout Pro alongside Photoshop can enhance your creativity and efficiency. The combination of Cutout Pro’s features and Photoshop’s robust editing tools can streamline your photo editing tasks. Whether you’re a beginner or an experienced professional, understanding how to use these tools together can greatly improve your results.
Key Takeaways
- Cutout Pro is compatible with Photoshop for efficient editing.
- The integration enhances your workflow and creative options.
- Knowing how to use both tools can elevate your photo projects.
Understanding Cutout Pro
Cutout Pro is an advanced tool designed to simplify the process of creating cutouts from images. It allows users to easily separate subjects from backgrounds, making it ideal for various editing tasks. Below are key details about Cutout Pro and its features.
What Is Cutout Pro?
Cutout Pro is an online platform that focuses on removing backgrounds from images with precision. It is especially useful for those who need to isolate objects, such as products for e-commerce or personal projects. The tool leverages artificial intelligence to automatically detect subjects and separate them from their backgrounds, streamlining your editing workflow.
This online tool aims to make complex editing tasks straightforward. By simply uploading an image, you can quickly generate high-quality cutouts without needing extensive manual adjustments. Whether you are a beginner or an experienced user, Cutout Pro provides an efficient solution for creating professional-looking images.
Features of Cutout Pro
Cutout Pro offers several features that enhance your editing experience. Some of the standout attributes include:
- AI-Powered Detection: The platform uses advanced algorithms to identify subjects and backgrounds, ensuring accurate results with minimal effort.
- Smooth Edges: You can achieve clean and smooth cutouts, which are essential for professional projects.
- Feathering Options: This feature allows you to soften the edges of your cutouts, providing a more natural look when placed over new backgrounds.
- Customisation Tools: After creating a cutout, you can adjust the background easily or modify the object as needed.
These features combine to provide a user-friendly experience, making it easier for you to create high-quality images.
Cutout Pro as an Online Tool
As an online tool, Cutout Pro stands out for its accessibility and convenience. You can access it from any device with internet capability, removing the need for download or installation. This flexibility allows you to work on projects anytime, anywhere.
Additionally, the platform supports popular design applications like Canva and Fotor. This compatibility enables you to easily integrate your cutouts into designs created on these platforms. You can upload your isolated subjects directly into your projects, streamlining your creative process.
Using Cutout Pro not only saves time but also enhances the quality of your work by ensuring that your images look polished and professional.
Compatibility with Photoshop
Cutout Pro is designed to work alongside Photoshop, allowing you to enhance your photo editing experience. Understanding how to open files and use the right formats is crucial for seamless integration.
Opening Cutout Pro Files in Photoshop
You can import Cutout Pro files directly into Photoshop. Most often, these files will be saved in formats such as JPEG or PNG, which are compatible with Photoshop.
To open a file, you can use the shortcut Ctrl + O (or Command + O on Mac). Once opened, you may use Photoshop’s tools, like the layer mask, to refine your edits further.
Ensure that you save your Cutout Pro work in a format compatible with Photoshop to maintain all adjustments and layers.
File Formats Supported by Photoshop
Photoshop supports a variety of file formats. Here are some key ones:
- PSD: This is Photoshop’s native format, retaining layers and edits.
- JPEG: A commonly used format, ideal for images.
- PNG: Useful for images with transparency.
- TIFF: High-quality format that also supports layers.
When working with Cutout Pro, you can export to any of these formats for use in Photoshop. Understanding these formats will help you manage your files better.
Using Cutout Pro and Photoshop Together
Using Cutout Pro alongside Photoshop enhances your workflow. You can perform initial edits in Cutout Pro, such as removing backgrounds or adjusting colours.
Then, bring the edited image into Photoshop for advanced work. You might use tools like layer masks to create smooth transitions and more complex compositions.
This synergy allows you to leverage the strengths of both programs, enabling more polished and refined outcomes in your projects.
Photo Editing Workflow
A smooth photo editing workflow can greatly enhance your editing experience. You can efficiently transition between using Cutout Pro and Photoshop to achieve high-quality results in your photographs.
Starting with Cutout Pro
Begin by importing your photograph into Cutout Pro. This tool excels in making selections and cutouts. Use the Select and Mask feature to isolate the subject.
Adjust the settings by tweaking the Radius and Contrast sliders. Increasing the radius may help in better capturing soft edges, while contrast sharpens the selection.
You can then add or remove areas to refine your cutout. Ensure your selection looks natural by paying attention to details. Once satisfied, export the cutout to Photoshop for further refinements.
Refining Edges in Photoshop
Open the exported cutout in Photoshop. Start with the Refine Edge tool to enhance the selection. This feature allows you to adjust the Shift Edge setting for a smoother blend with the background.
If needed, use the Brush Tool to make minor adjustments. You can add or remove parts of the selection easily. This step is crucial for achieving a polished look.
Also, experiment with the contrast to make your subject stand out more against the background. Once you are pleased with the result, prepare for the final touches.
Final Touches and Exporting
In this phase, make any last adjustments to your photograph. Consider using Adjustment Layers to alter colour, brightness, or contrast without damaging the original image.
Perform a final check on the edges to ensure they blend seamlessly. When everything looks good, it’s time to export your image. Use the File > Export option and choose the appropriate format for your needs.
Select a high-quality option to maintain detail in your photo. Save your work, and your edited photograph is ready for use.
Advanced Techniques
Using advanced techniques in Photoshop can significantly enhance your editing process. You can effectively handle complex backgrounds, make precise selections, and create layer masks for more control over your images. These skills are essential for achieving professional results.
Handling Complex Backgrounds
When dealing with complex backgrounds, focus on the details. Start by using the Quick Selection Tool to outline the main subject. Zoom in for accuracy and gradually paint over the areas you want to select.
If the background is intricate, the Refine Edge tool can be invaluable. It allows you to fine-tune your selection, especially around hair or fine details. Once you have made your selection, you can create a new layer or mask to refine the adjustments further.
Be patient and take your time with these selections to ensure the best results.
Precise Selection with Object Selection Tool
The Object Selection Tool simplifies the process of selecting subjects. To use it, click on the tool, then draw a rectangle or lasso around the object. Photoshop will automatically identify and create a selection around your subject.
Once selected, you can easily modify the edges by holding down the Shift key to add areas or the Alt key (or Option on Mac) to subtract them. For adjusting the selection further, utilise the Refine Edge option to enhance the selection, especially on complex backgrounds. It lets you improve clarity around the edges for a cleaner appearance.
Creating a Layer Mask in Photoshop
Creating a layer mask in Photoshop gives you greater control over your edits. After making a selection, click on the Add Layer Mask button in the Layers panel. This action allows you to hide parts of the layer, making adjustments non-destructive.
To refine the mask, you can use a brush. Paint with black to hide parts of your image, or white to reveal them. If you need to invert your mask, use Ctrl + I (Cmd + I on Mac) for quick adjustments.
Experiment with different brush hardness settings for softer transitions, allowing for more natural blending. Layer masks are essential when you want to make precise edits without losing original image data.
Cutout Pro on Mobile Devices
Cutout Pro offers great features for mobile users who want to edit images easily. On iOS devices, you can make quick and effective edits using this app. Here’s what you need to know.
Using Cutout Pro on iOS
To use Cutout Pro on your iOS device, start by downloading it from the App Store. Once installed, the app’s interface is straightforward and user-friendly, making navigation easy.
You can open images directly from your photo library. After selecting a photo, tools for cutting out backgrounds and editing are readily available.
Key Features:
- Background Removal: Select and erase backgrounds easily.
- Adjustments: Use sliders for brightness, contrast, and saturation.
- Sharing Options: Save your edited images or share them straight to social media.
With these features, Cutout Pro on iOS allows for quick and effective photo editing on the go.
Frequently Asked Questions
This section addresses common queries regarding the integration of Cutout Pro and Photoshop. You will find clear answers on how to use the features and tools effectively.
Is it possible to integrate Cutout Pro features within Photoshop?
Yes, you can integrate Cutout Pro features directly within Photoshop. This allows you to enhance your workflow by using the tools from both programs simultaneously.
How can I use Cutout Pro to create passport photos that are compatible with Photoshop?
To create passport photos with Cutout Pro, select the right dimensions and ensure that the background is suitable. You can then save the image in a format that Photoshop can open, such as JPEG or PNG.
What are the steps to transfer a cutout from Cutout Pro into Photoshop?
To transfer a cutout, first, complete your editing in Cutout Pro. Save the image as a PNG file to preserve transparency. Then, open Photoshop and import the saved file for further editing.
Does Cutout Pro offer a free version that works alongside Photoshop?
Cutout Pro does have a free version that you can use. This version may have limited features but is still functional for basic cutouts and works well with Photoshop.
How can I remove a photo’s background using Cutout Pro before editing in Photoshop?
Open your image in Cutout Pro and use the background removal tool. Once done, save the edited image in a format that Photoshop supports, allowing for seamless editing after.
Can Cutout Pro assets be downloaded and used within Photoshop projects?
Yes, you can download assets from Cutout Pro. These can be saved in compatible formats, making it easy to incorporate them into your Photoshop projects for custom designs.